Configuring iFilter for PDF Search in SharePoint 2010 - Step by Step
What is iFilter ?
* IFilters are components that allow SharePoint to index content of specific file types, letting users to search for content in those files.
* Using the SharePoint Search we can find documents based on their filename, metadata or content within a document.
* By default the content of Office documents is indexed by the SharePoint crawler, but PDF files are not crawled.
* To add support for PDF files you have to add an I-Filter which the SharePoint crawler uses to read through PDF files and add the information to the search index.
There are two steps in configuring PDF Search IFilters for SharePoint
1. Install the PDF iFilter
2. Configure the iFilter
* To add support for PDF files you have to add an I-Filter which the SharePoint crawler uses to read through PDF files and add the information to the search index.
There are two steps in configuring PDF Search IFilters for SharePoint
1. Install the PDF iFilter
2. Configure the iFilter
Installing IFilter
The Installation of the iFilter 9.0 has to be done on the Index Server(s)
How to install ifilter in SharePoint 2010? Download and install the iFilter installation file for 64-bit machine from http://www.adobe.com/support/downloads/detail.jsp?ftpID=4025
How to install ifilter in SharePoint 2010? Download and install the iFilter installation file for 64-bit machine from http://www.adobe.com/support/downloads/detail.jsp?ftpID=4025
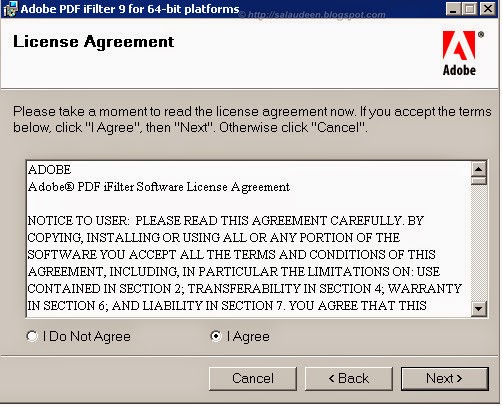
Choose the location for the installation files to reside and complete the installation by clicking Install and finish the installation wizard.

Configuring iFilter
I. On WFE Server(s):
1. Download PDF icon picture (17x17) from Adobe web site http://www.adobe.com/misc/linking.html and Copy to C:\Program Files\Common Files\Microsoft Shared\Web Server Extensions\14\TEMPLATE\IMAGES\
2. Add an entry in docicon.xml
Backup the docicon.xml file, and Add an entry in docicon.xml for the PDF icon:
C:\Program Files\Common Files\Microsoft Shared\Web Server Extensions\14\TEMPLATE\XML
<Mapping Key="pdf" Value="pdficon17.gif">
Above Steps are done in order to have the PDF icon in SharePoint search results.
Backup the docicon.xml file, and Add an entry in docicon.xml for the PDF icon:
C:\Program Files\Common Files\Microsoft Shared\Web Server Extensions\14\TEMPLATE\XML
<Mapping Key="pdf" Value="pdficon17.gif">
Above Steps are done in order to have the PDF icon in SharePoint search results.
* Add PDF file type on the File Type page under Search Service
Open SharePoint Central Administration >> General Application Settings >> Farm Search Administration

Click on Search Service Application

Click on File Types to add PDF extension for SharePoint 2010

Add new File Type extension “PDF” to setup IFilter for SharePoint 2010

Enter file extension as pdf and click OK and get out from Central Administration

II. On Index Server(s)
Open Regedit and go to : HKEY_LOCAL_MACHINE\SOFTWARE\Microsoft\Office Server\14.0\Search\Setup\Filters

Right-click the Filters folder and select New Key. Enter “.pdf” for the key value.
Add the following values
<REG_SZ> Default = <value not set>
<REG_SZ> Extension = pdf
<REG_DWORD> FileTypeBucket = 1
<REG_SZ> MimeTypes = application/pdf

Associate the iFilter by following below steps:
* Open Regedit
* Navigate to the following location: HKEY_LOCAL_MACHINE\SOFTWARE\Microsoft\Office Server\14.0\Search\Setup\ContentIndexCommon\Filters\Extension
* Right-click > Click New > Key to create a new key for .pdf
* Add the following GUID in the default value {E8978DA6-047F-4E3D-9C78-CDBE46041603}

* Restart all SharePoint services as well as IIS.
* Restart the SharePoint Server Search 14

Or Execute the below 2 commands:
Net Stop OSearch14
Net Start OSearch14
* Reboot the SharePoint servers in Farm.
* Perform FULL Crawl to get search result.
To allow PDF’s to open in the browser
* Navigate to Central Administration >> Application Management
* Select the appropriate web application (you may have to repeat these steps if you have multiple web apps) then click on General Settings in the Ribbon
* Scroll down to “Browser File Handling” and set this to Permissive
* Click the OK button. (Repeat the last two steps for additional web apps)
* Select the appropriate web application (you may have to repeat these steps if you have multiple web apps) then click on General Settings in the Ribbon
* Scroll down to “Browser File Handling” and set this to Permissive
* Click the OK button. (Repeat the last two steps for additional web apps)
Testing:
Create a document library upload any sample PDF document(s). Once the full crawl is completed we will get search results.


Comments
Post a Comment